Integrating QuickBooks with Ascora allows for efficient financial data management by ensuring that customers, invoices, and payments remain synchronized between both systems. This two-way integration reduces manual data entry, minimizes errors, and helps maintain an up-to-date financial overview.
With this connection, invoices and payments recorded in Ascora will automatically sync to QuickBooks, and any payments received in QuickBooks can be reflected in Ascora. This ensures that financial records remain accurate and consistent across platforms, supporting smooth reconciliation and reporting.
Proper configuration of account codes and settings ensures that transactions are allocated correctly, aligning with your business’s financial tracking and reporting needs. By following this guide, you’ll be able to seamlessly set up the integration and optimize your financial workflows.
Ascora runs two-way, full integration which means data will flow from Ascora into your accounting package as well as from your accounting package back into Ascora to ensure your Customers, Invoices and Payments are always synchronised. To connect Ascora to your QuickBooks Accounting Package: 1. From the Administration Icon in the Top Menu, choose the Accounts Integration option.

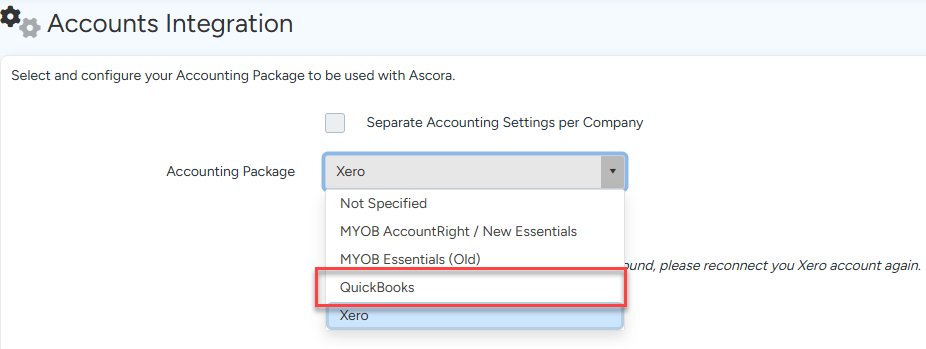
2. Select QuickBooks from the dropdown list. A summary will display on the screen to explain the integration further.
3. Click the Connect to QuickBooks button to commence the integration. You will be re-directed to QuickBooks to authorise Ascora to access you accounting data.
4. Enter your QuickBooks log-in details and click the Sign In button. QuickBooks will ask you to allow Ascora access to your QuickBooks Account.
5. Click the Connect button to allow Ascora to integrate with QuickBooks. You will be re-directed back to Ascora to finish the integration.
6. Once you have successfully connected Ascora with Quickbooks, a list of account code options will display. These tell Ascora which account codes in Quickbooks to send different information to. Work through the list and select the applicable account codes from the dropdown lists. When you are ready, click the Save Accounting Settings button.
Customer Invoicing:
- Invoice Reference Field: This value will appear in the Reference field on the top of your Invoice in QuickBooks.
- Default Labour Income Account: Sets the Income Code to be used when pushing Labour lines to your Accounting Package.
- Default Supplies Income Account: Sets the Income Code to be used when pushing Supplies lines to your Accounting Package.
Payments:
- Account for Payments: Represents the Bank Account into which any Payments would be deposited. This must match the Bank Account you would reconcile in your Accounting Package.
- Account or Credit Card Payments: Sets Bank Account in which Credit Card Settlements will appear. Generally this should be a Clearing Account to make reconciliation far easier from your bank feeds.
- Payment MEthod from Accounts: Any Payments pulled back from your Accounting Package will be assigned this Payment Method. e.g. EFT or Paid in Xero
Bills & Expenses:
- Default Supplier Invoice Account: This Expense Account will be used as default if you haven't set a specific code on the Supplier when creating a Supplier Invoice.
- Default Expense Account:This Expense Account will be used as default if you haven't set a specific code on the Supplier when creating an Expense.
- Push Supplier Invoices as Awaiting Approval: Tick this if you want the Supplier Invoice to be sent to Xero as "Awaiting Approval" rather than "Awaiting Payment".
General Settings:
- Default Rounding Account: This account will be used when creating a line due to Rounding Differences between Ascora and your Accounting Package.
- Retention Income Account: This income account will be used when adding a Retention Line to an Invoice or Progress Claim. It will also be used when creating the Completion and Final Retention Invoices.
- Credit Note Account: This income account will be used when creating a Credit Note for a Customer.
- Bad Debt Account: This income account will be used when creating an adjustment when an Invoice in Ascora is written off as a Bad Debt.
- Default Inventory Account: This Inventory Account will be used when creating a Product/Service in your Accounting Package and the Inventory Account has not been set
- Team Tracking Category: If you're using Tracking Categories in Xero, you can select which of your Tracking Categories you want associated with Teams in Ascora.
- Accounting Start Date: Only transactions that occur after this date will be pushed to your Accounting Package. Relax Account Selection Restrictions: Ascora will not filter the available Account Codes in the dropdowns so you will be able to select any type of Account - expenses, assets, equity or current liability - on any of the Ascora screens.

7. Ascora is now integrated with Quickbooks and will ask if you wish to import customer information.
Configure Specific Account Codes for Different Job Types
When you create a Job Type in Ascora, you can choose to assign unique Labour and Materials Income Account Codes to it. For example, you can set a Domestic Job Type to push income to Domestic Labour and Domestic Materials income accounts in QuickBooks.
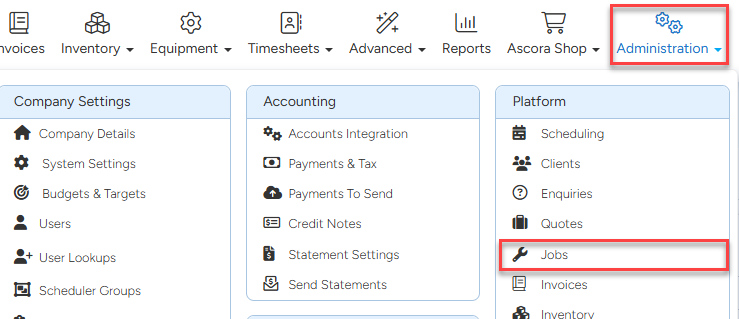
1. From the Administration Icon in the Top Menu, choose the Jobs option.
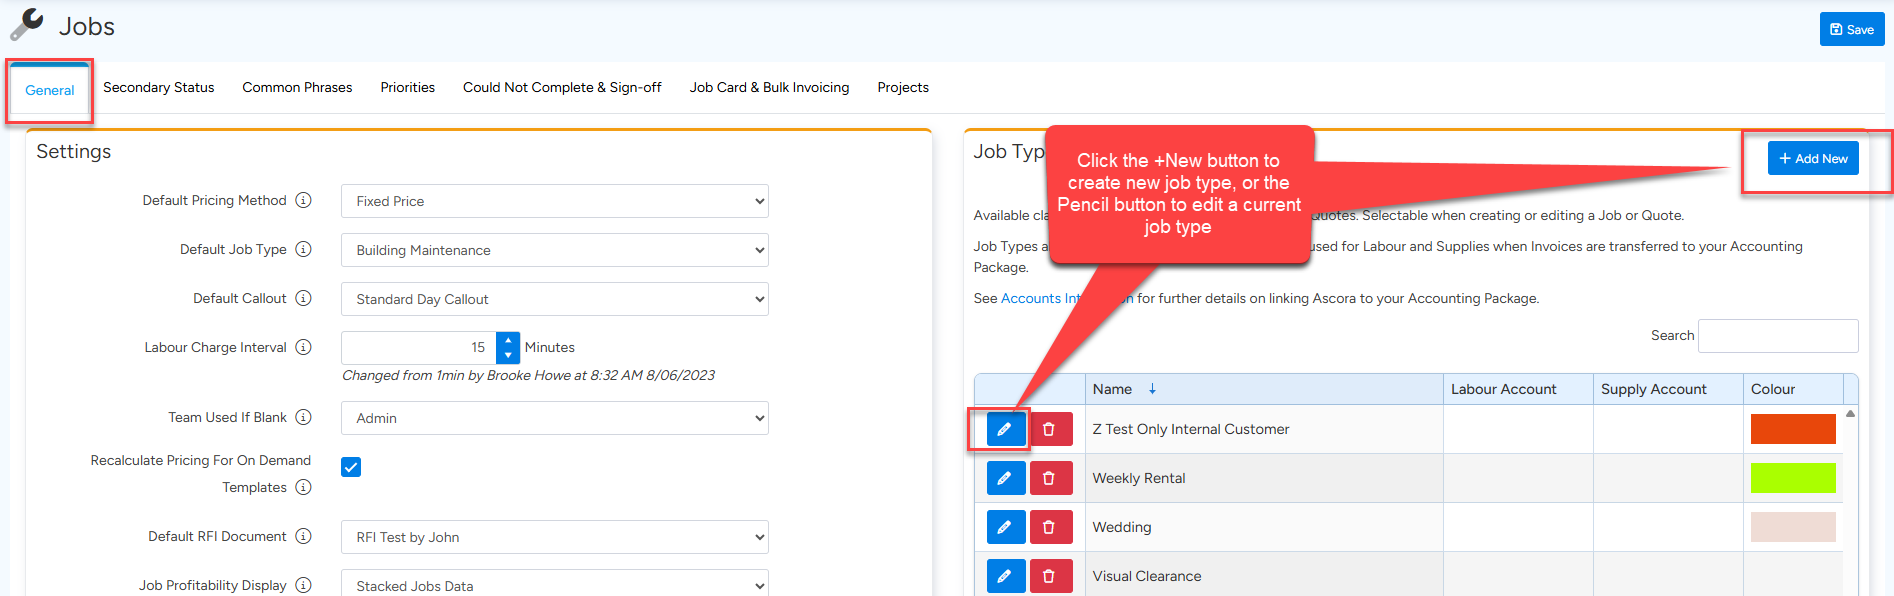
2. Under the Job Type section, click the +Add New button to create a new Job Type, or click the Edit button to edit an existing Job Type.
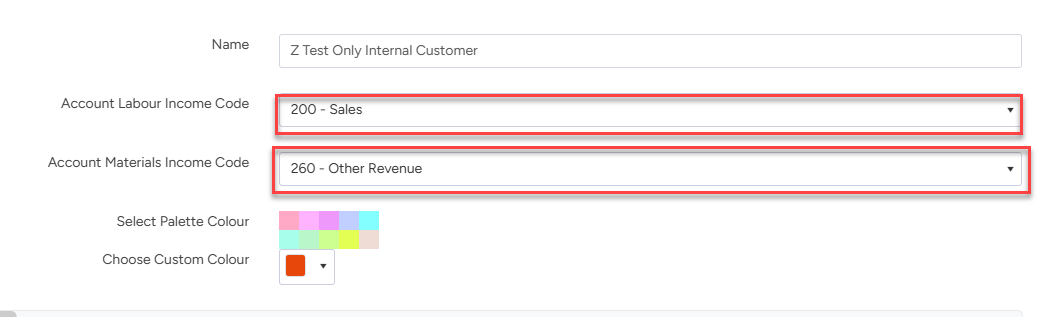
3. The Job Type details pop-up window will display. Select the required Labour and Materials Income Account Codes from the dropdown lists then click the Save button.
Configure Specific Account Codes for Individual Supplies
You can configure Ascora to push income generated from a specific Supply Item into a specific Income Account Code in QuickBooks. This would typically be used when, for example, you charge out a rate for the use of a particular piece of equipment and have the equipment listed as a Supply in Ascora. By specifying a unique Income Account Code, you can track income specifically generated by that piece of equipment.

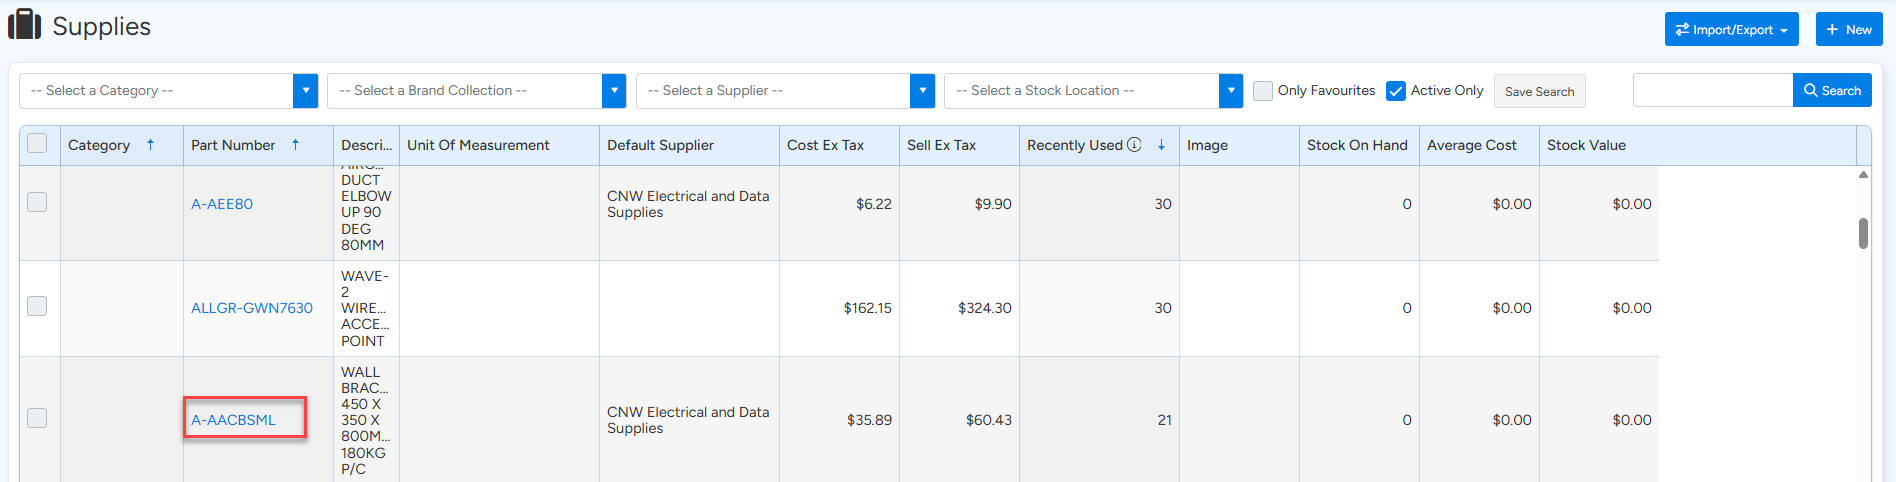
1. From the Inventory Icon in the Top Menu, choose the Supplies option.

2. Locate the Supply in the Supplies List for which you wish to apply a specific Income Account Code and click the Edit button
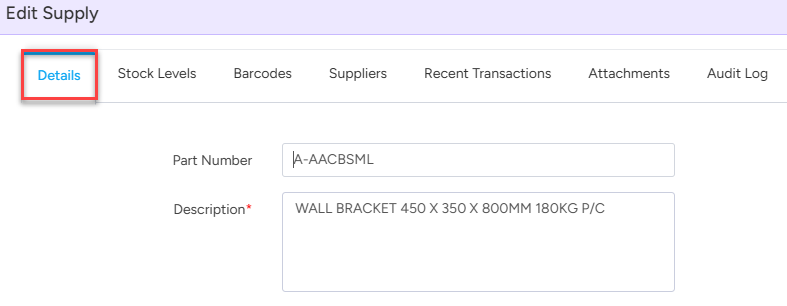
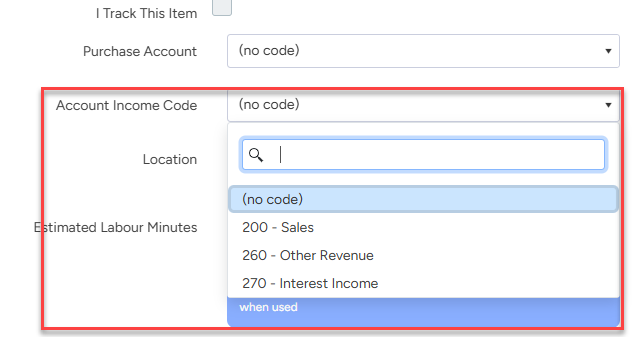
3. The Edit Supply pop-up window will display. Select details then scroll down to select the applicable Income Account Code from the dropdown list then click the Save button.
Configure Account Codes for Credit Card Surcharges
Ascora allows you to (optionally) apply surcharges to credit card payments. You can apply different surcharge amounts to different card types if required and you can also define the Account Code in QuickBooks for Ascora to push Surcharge Income into.
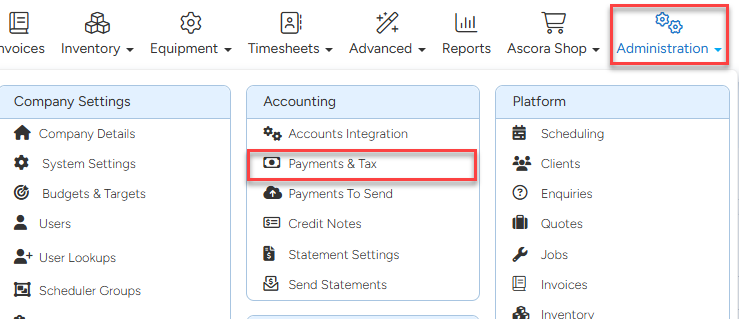
1. From the Administration Icon in the Top Menu, choose the Payments & Tax option.
2. Under the Payment Methods section, click the +Add button to add a new Payment Method or click the Edit button to edit an existing Payment Method.

3. The Payment Method pop-up window will display. Select the applicable Surcharge Income Account Code from the dropdown list then click the Save button.

Got a question?
Submit an Idea 💡 Go to Ideas Portal