Ascora allows you to capture signatures directly within Custom Forms, ensuring compliance, accountability, and verification for job completions. Technicians and staff can sign off on forms using the Ascora mobile app (Android and iOS), making it easy to document approvals and confirmations on-site.
This guide will walk you through:
- How to add a signature field to a Custom Form
- How to configure the signature field in Ascora
- How to test the signature feature in the Ascora mobile app
By following these steps, you can ensure your forms are set up correctly to capture digital signatures, improving documentation and workflow efficiency.
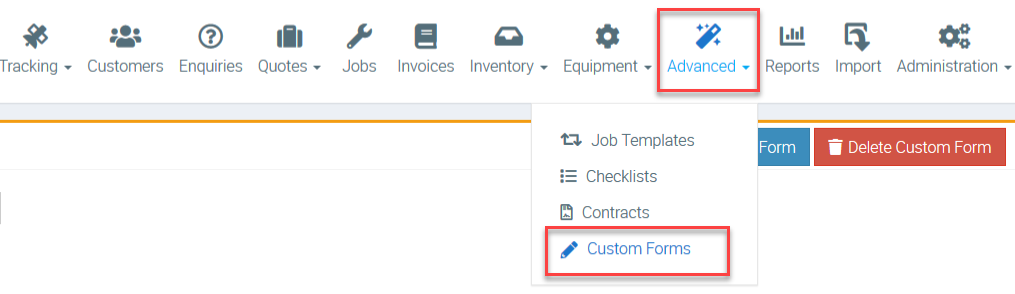
1. Go to Advanced → Custom Forms.
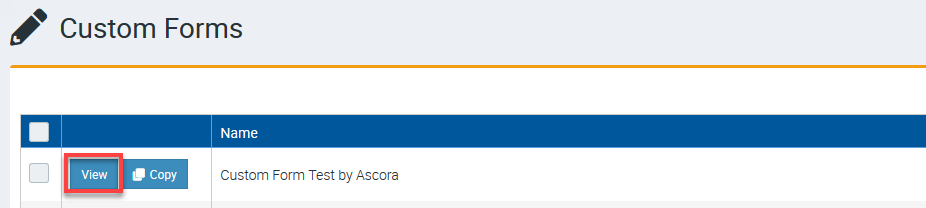
2. Look for the Custom Form that you want to edit and click View.
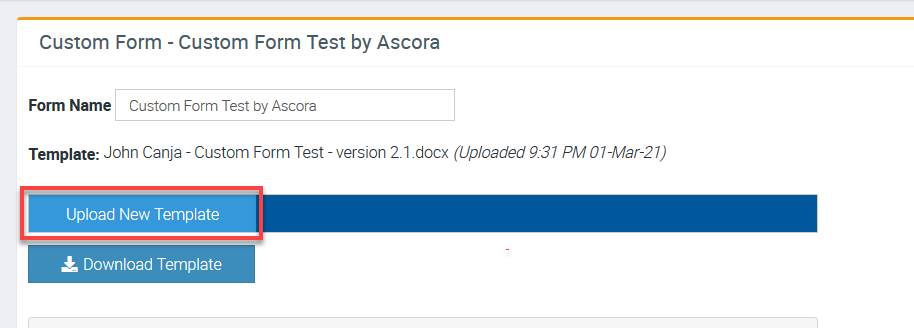
In this example, we are accessing the form called Custom Form Test by Ascora.
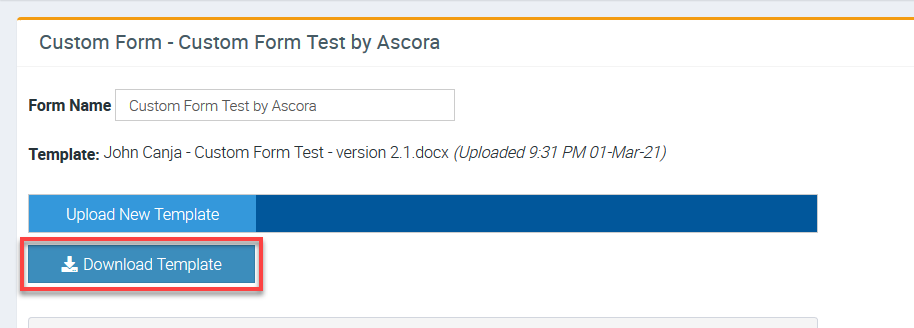
3. Download the custom form by clicking Download Template.
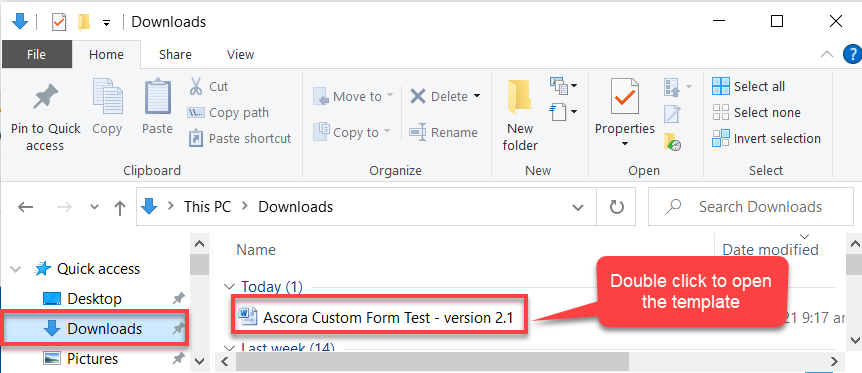
4. Depending on your computer settings, the template will open automatically otherwise, go to your download folder and open it manually.
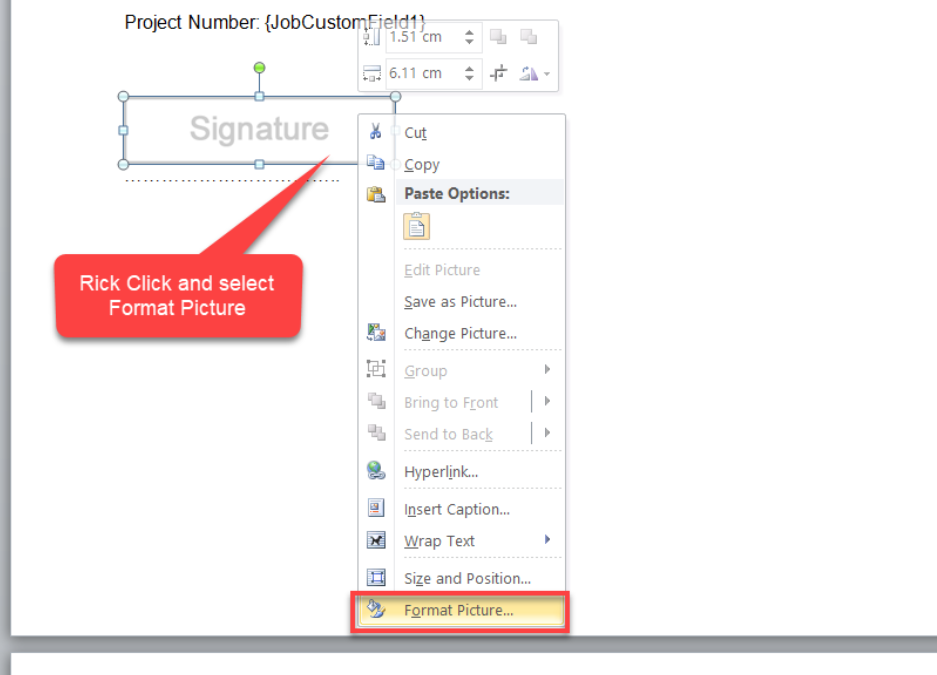
5. Once you've opened the template, place the cursor in the field where you want to add the signature and click Insert → Picture → select a picture → Insert.

6. After inserting the image, right click on it and select Format Picture.
6.1 If you have a newer version of Microsoft Word, right-click on the signature placeholder and select Edit Alt Text and you'll see the option to enter a field code.
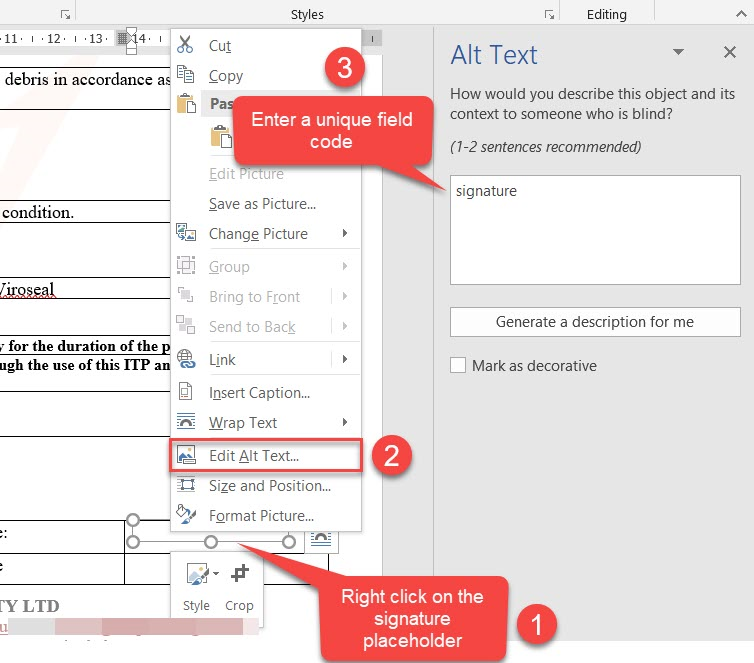
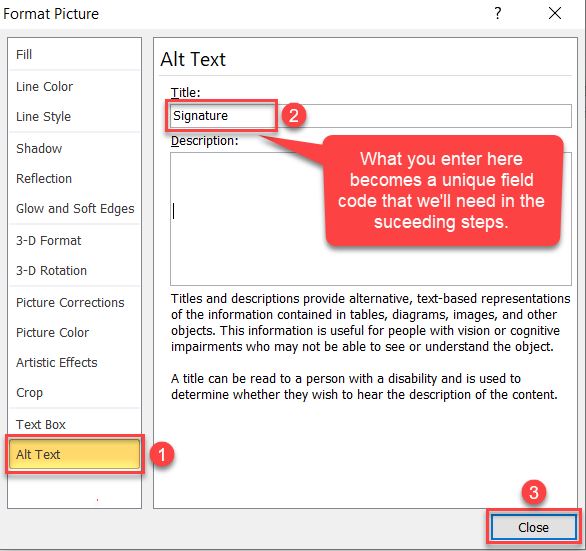
7. Select Alt Text and under Title, enter a name which basically becomes a unique field code and click Close.
In this example, our field code is Signature and it must be exactly the same format when we enter this in Ascora Form Question later.
8. Save the updated custom form and upload it into Ascora by clicking Upload New Template.
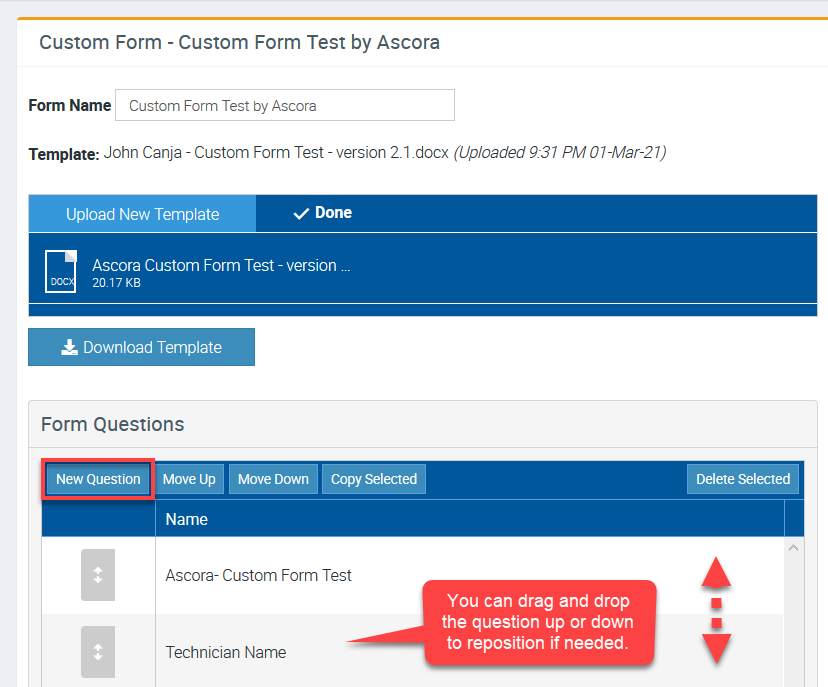
9. Go back to Ascora Custom Form page and Click New Question.
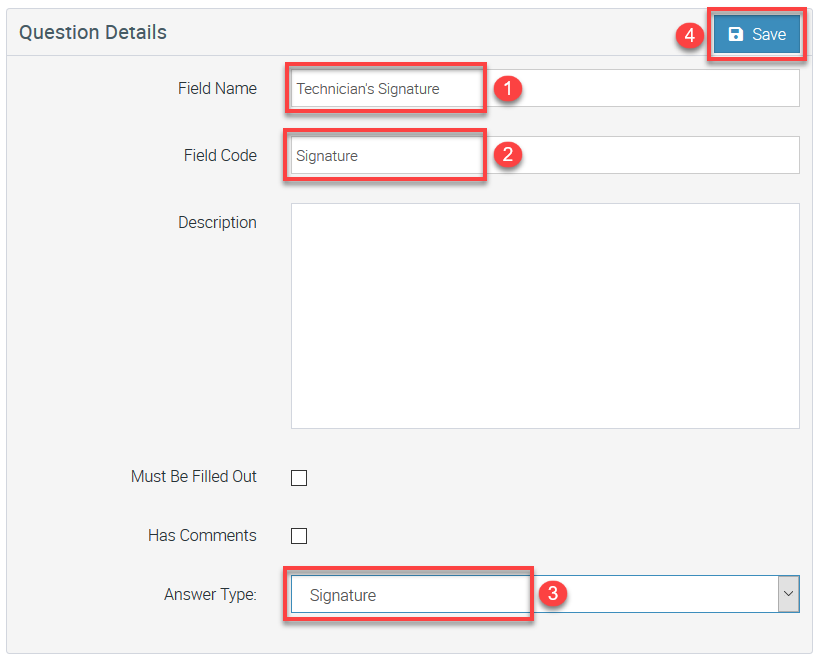
10. Enter the Field Name, Field Code, and select Signature as your Answer Type and click Save.
For the field code, we enter Signature since that's the exact field code that we entered in the image placeholder in step 7 which should be exactly the same format.
Testing your Custom Form on your Android Mobile App
Make sure to synchronise your mobile app first before running the test.
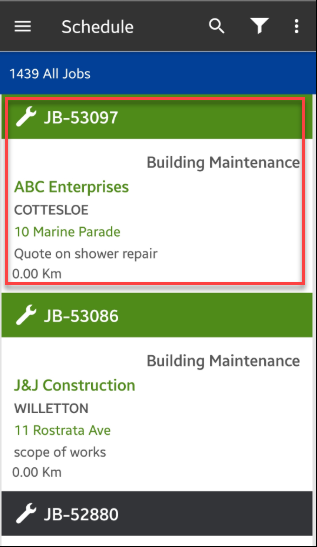
1. Access your job from the mobile app.
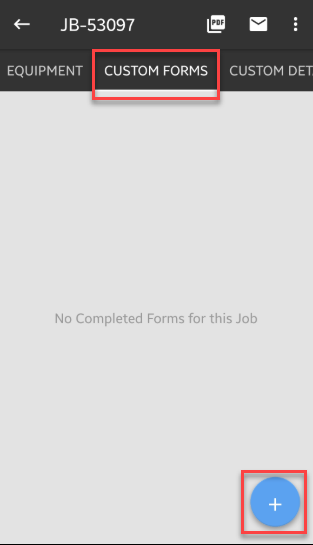
2. Navigate to Custom Forms tab and tap the + button.
The form that appears should already be the updated version.
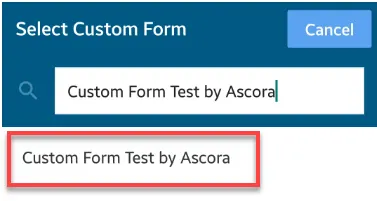
3. Select the custom form that you need to test and in this example, it's called Custom Form test by Ascora.
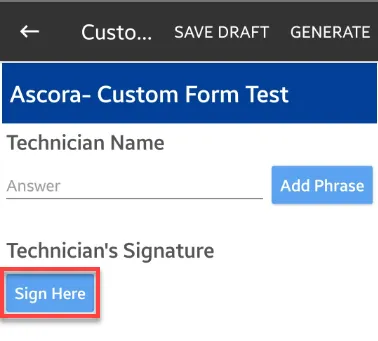
4. Once the custom form is displayed, you would be able to add your signature by tapping Sign Here.
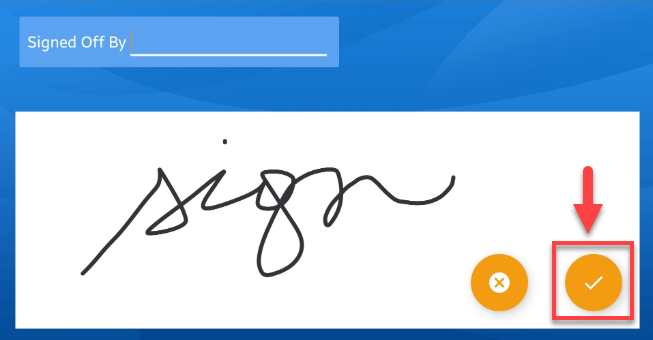
5. Add your signature and once done, tap on the check mark.
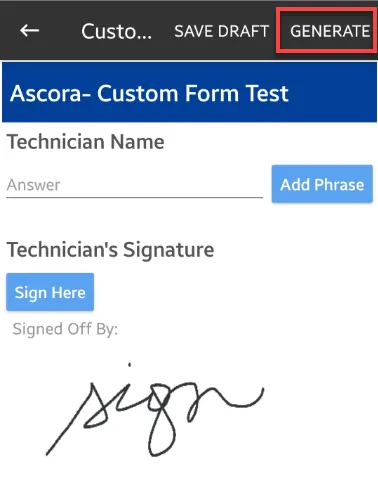
6. Your signature should appear in the preview and tap on GENERATE tab to create the PDF file.
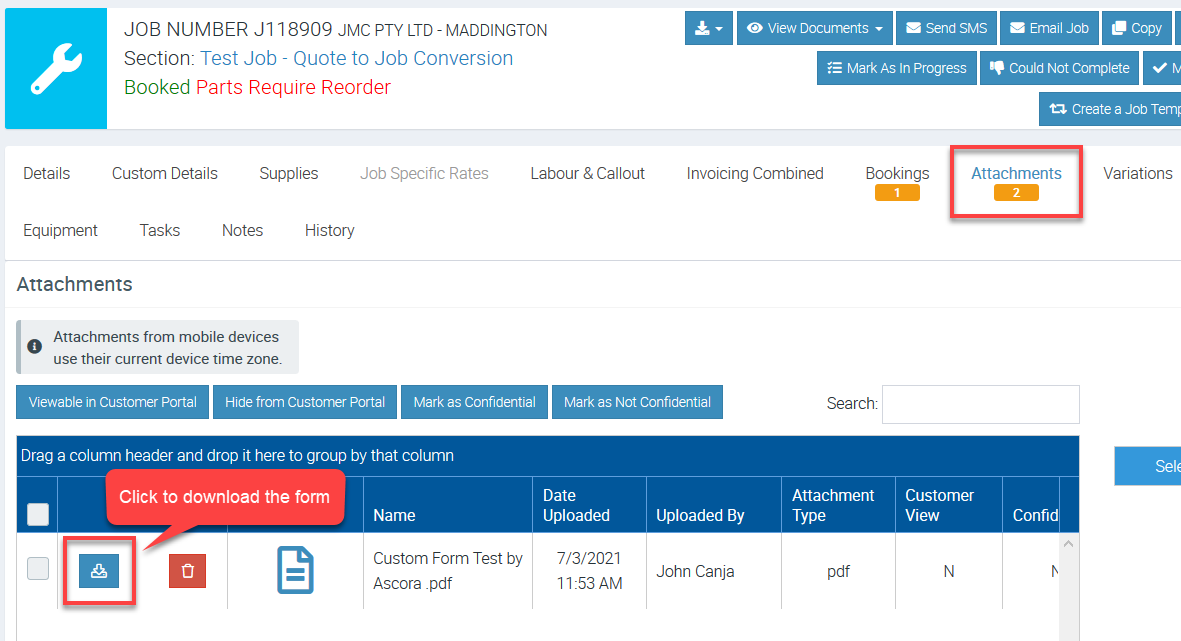
7. A PDF file is generated which now contains the signature that we've just added.
Testing your Custom Form on your iPad App
Make sure to synchronise your mobile app first before running the test.
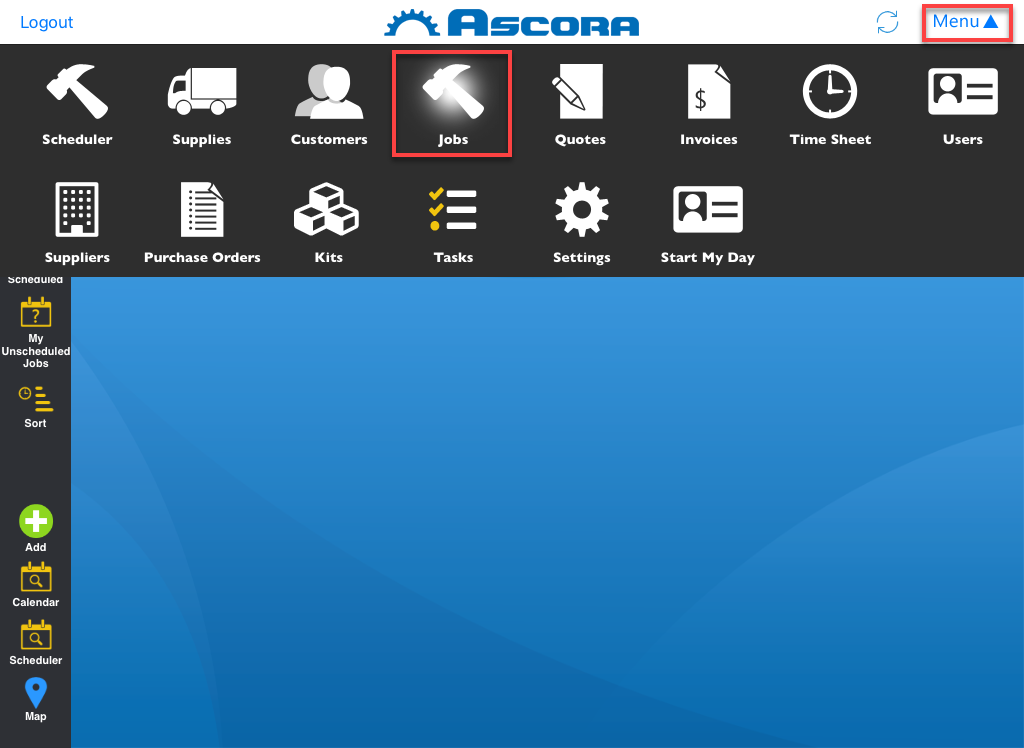
1. Access your job from the mobile app by tapping Menu → Jobs.
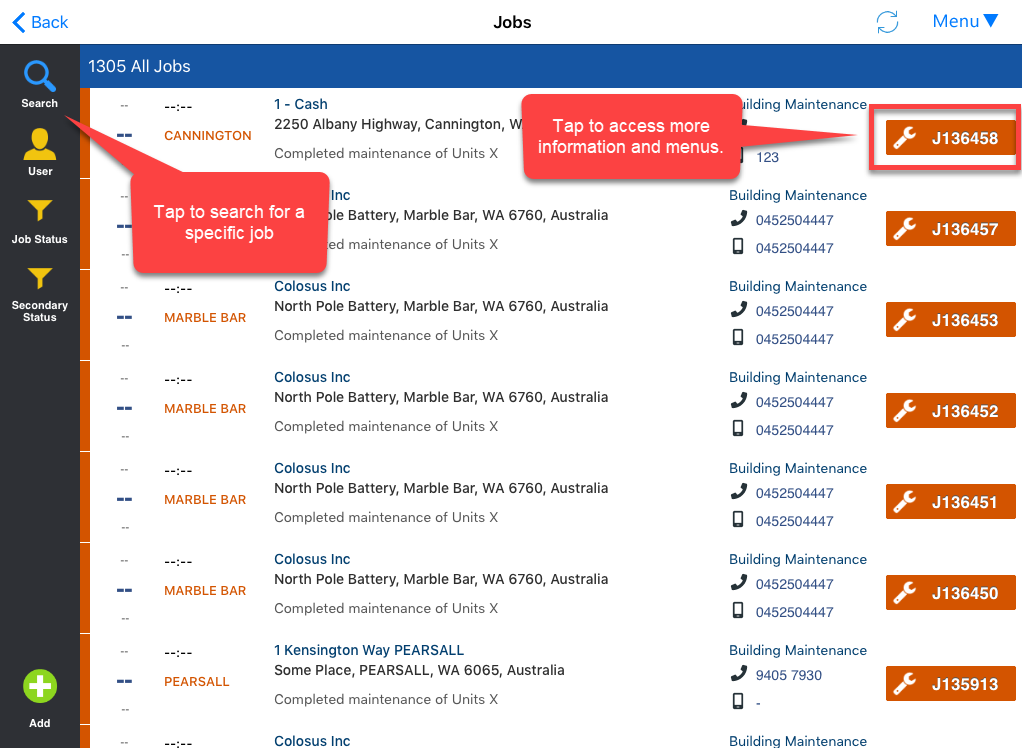
2. Tap one of the jobs to access more details and menus. Alternatively, you can use the search button to search for a specific job.
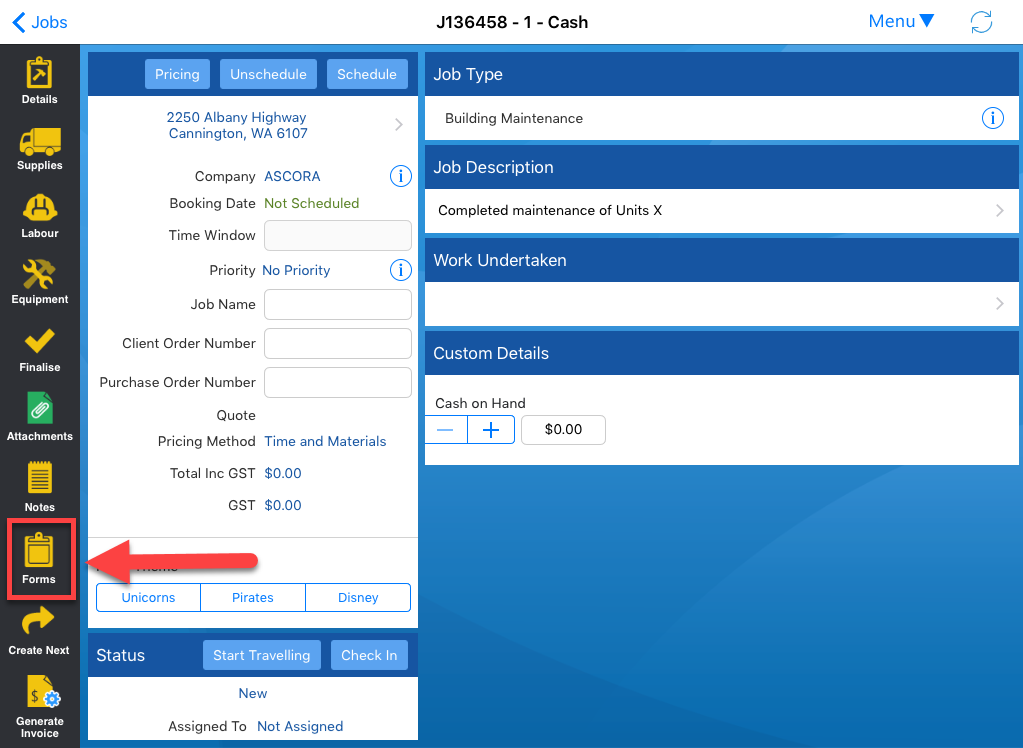
3. Tap Forms button which is located at the left side of the screen.
4. Tap Add button.

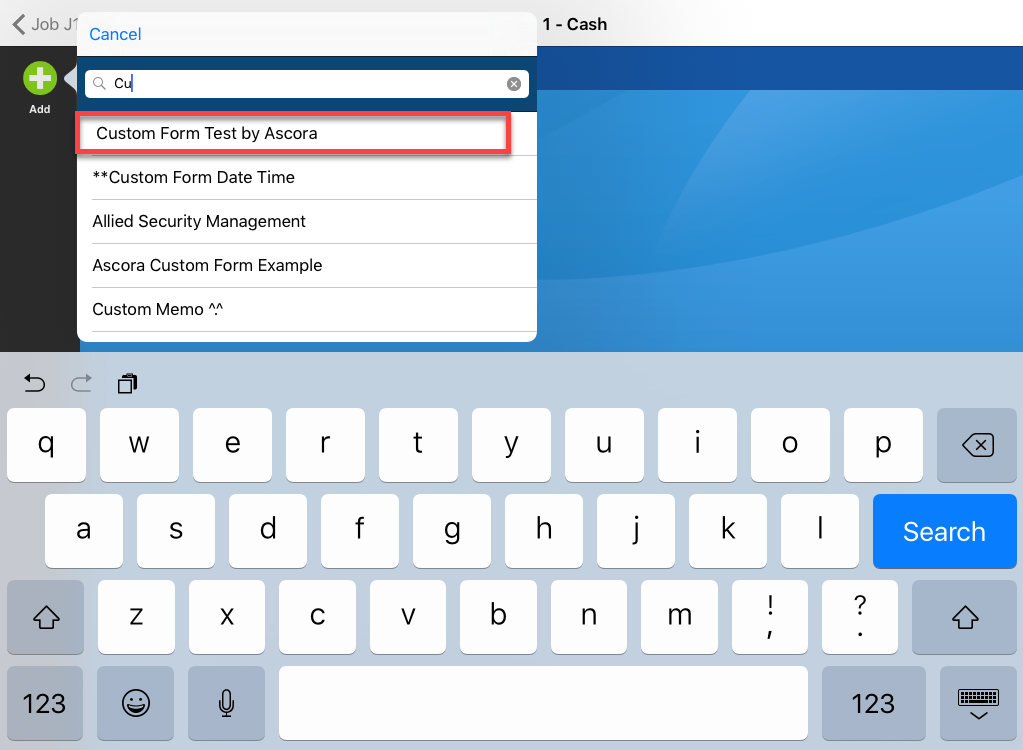
5. Search for the Custom Form by typing its name.
In this example, we are testing the custom form called Custom Form Test by Ascora.
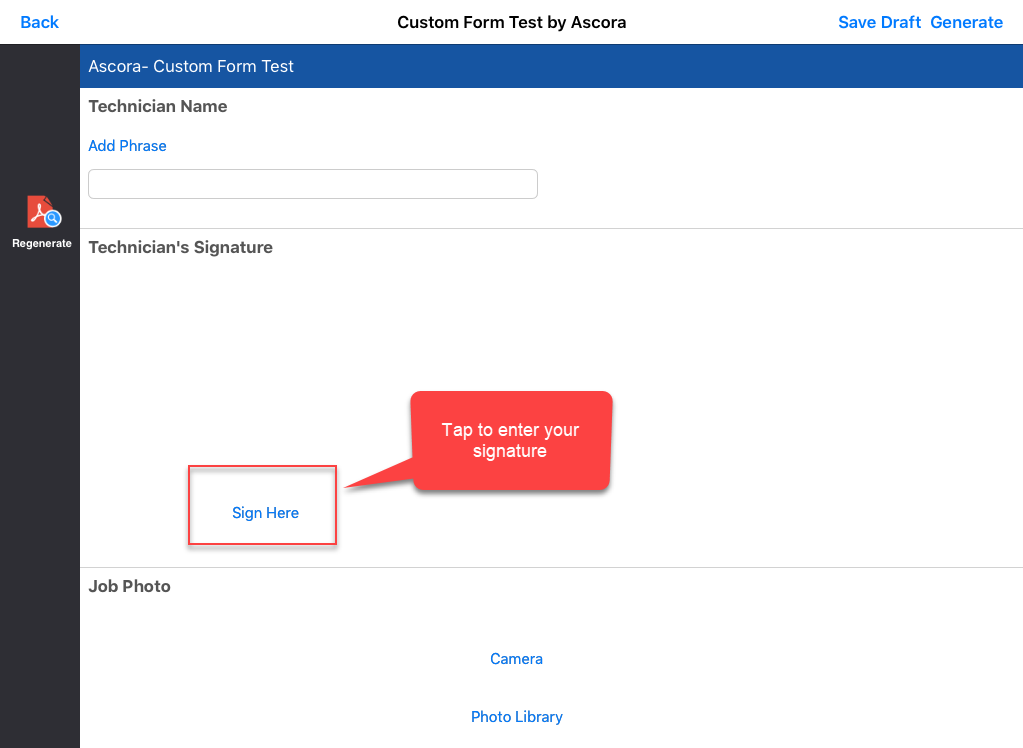
6. Tap Sign Here to enter your signature.
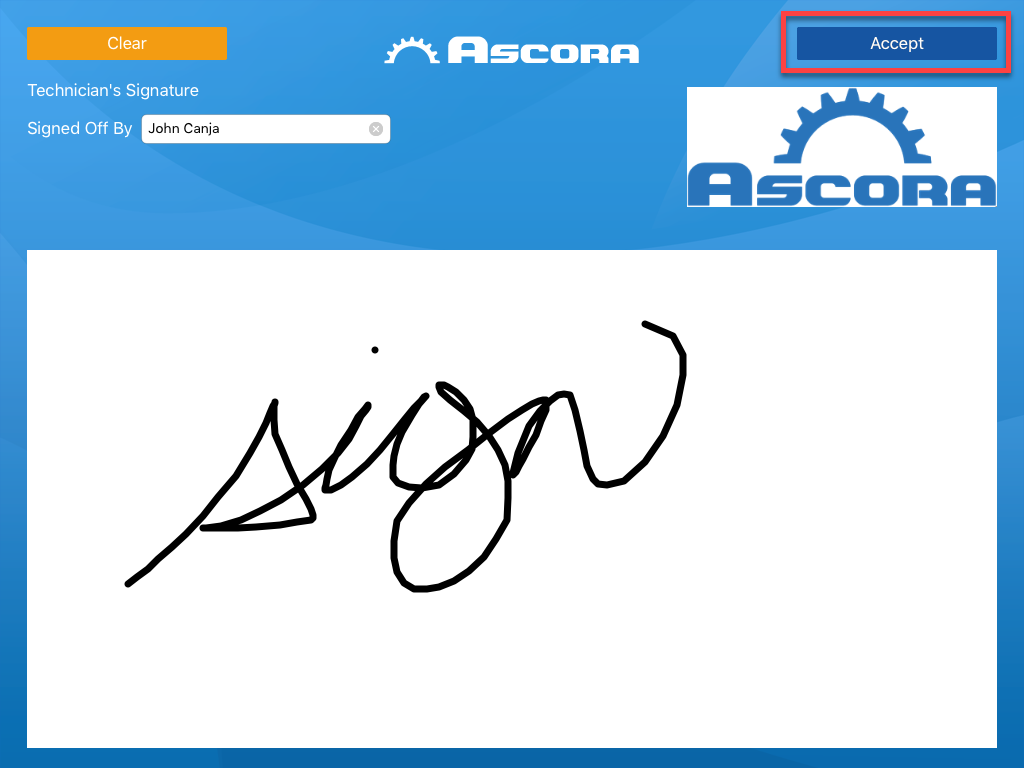
7. Enter or create your signature and once done, tap Accept.
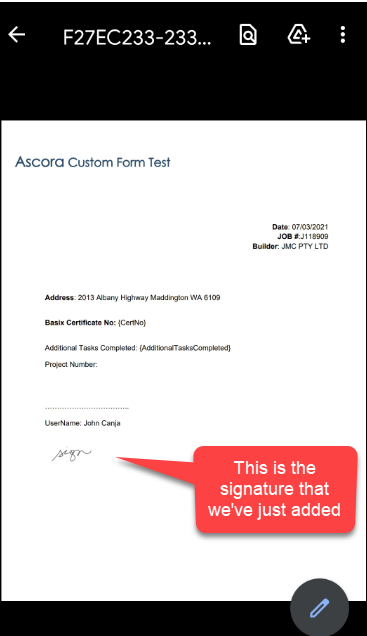
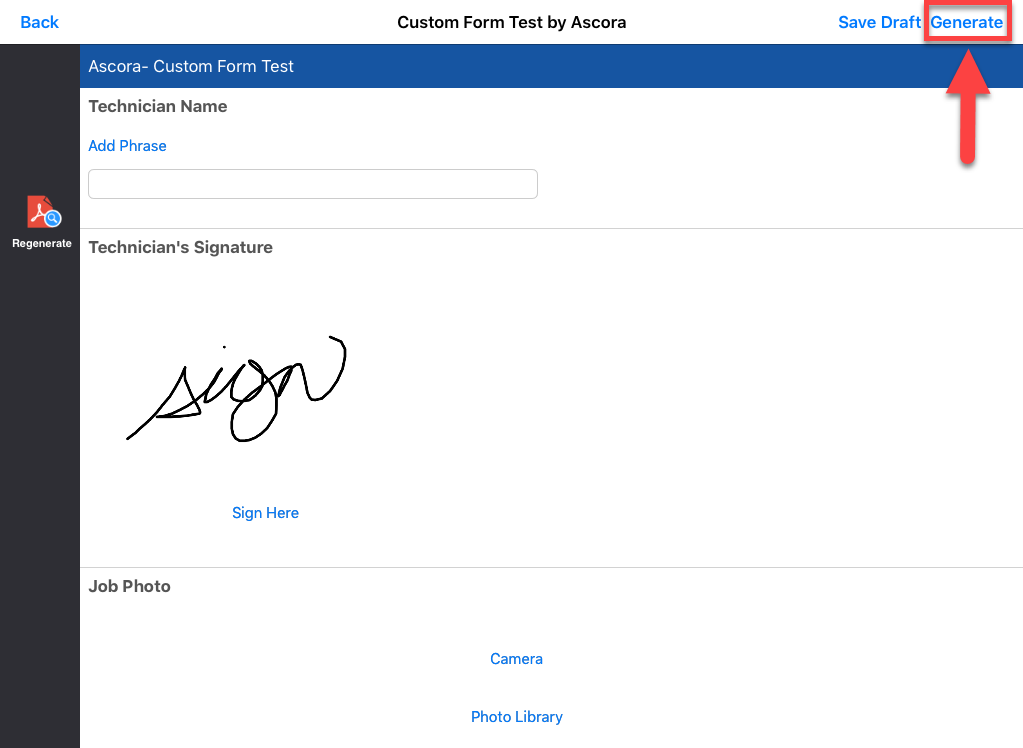
8. Your signature should appear in the preview and tap on GENERATE tab to create the PDF file.
9. A PDF file is generated which now contains the signature that we've just added.

Got a question?
Submit an Idea 💡 Go to Ideas Portal