Barcode scanning in Ascora transforms the way you manage supplies, streamlining job workflows, reducing errors, and improving accuracy. Whether you're processing sales, tracking inventory, or managing job materials, barcode scanning ensures faster data entry, fewer manual mistakes, and real-time stock updates.
With the ability to scan barcodes via a desktop scanner or the Ascora Mobile App, you can effortlessly add supplies to jobs, generate purchase orders, and maintain precise inventory levels. This feature is especially valuable for businesses handling high volumes of materials, ensuring every item is accounted for, and eliminating the risk of overordering or stock shortages.
By integrating barcodes into your workflow, you gain greater visibility, improved efficiency, and more accurate cost tracking, helping you run a more productive and profitable business.
Importing Barcode into Ascora
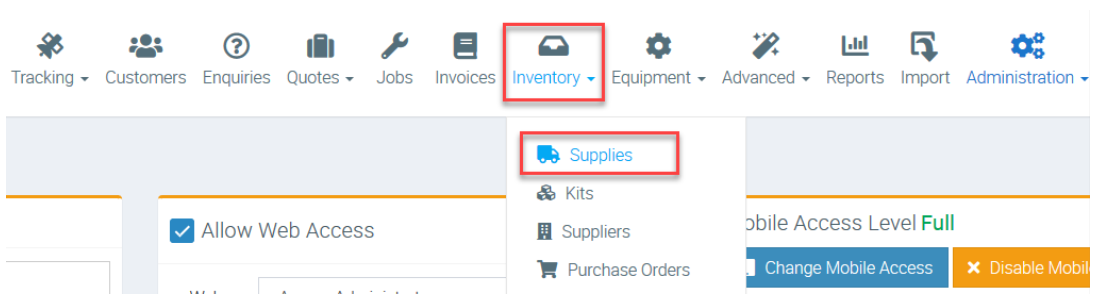
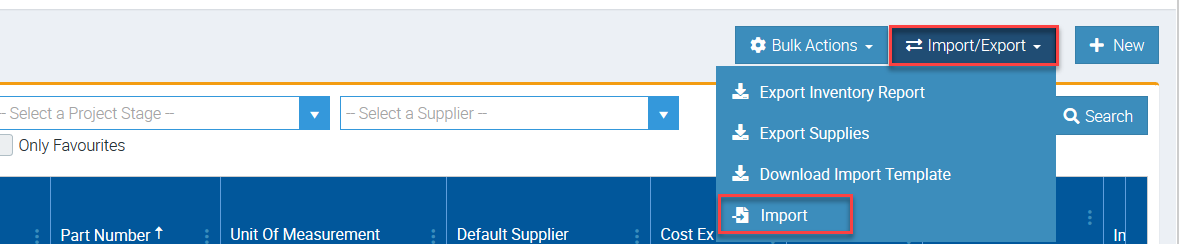
1. To import barcodes, go to Inventory → Supplies.
2. Click Import/Export and select Download Import Template.
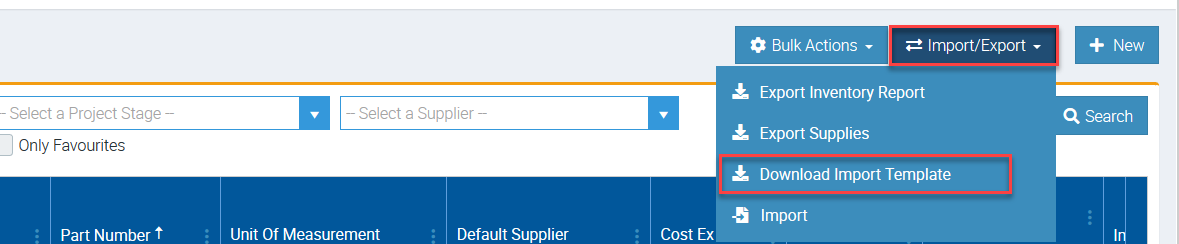
3. On the Excel Template, you can add your barcodes in column V.
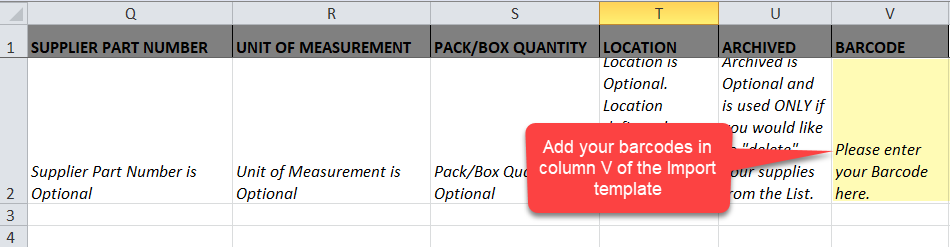
To learn more about supply import, please see ⤴️ Importing Supply Price List user guide.
4. After entering your barcodes in the template together with the rest of the supply details, you need to import it by going to Inventory → Supplies → Import/Export and this time, select Import.
Working on Quick Sale
You can use Quick Sale if you are in a retail environment and you can scan barcodes to add your supplies and then invoice your customer.
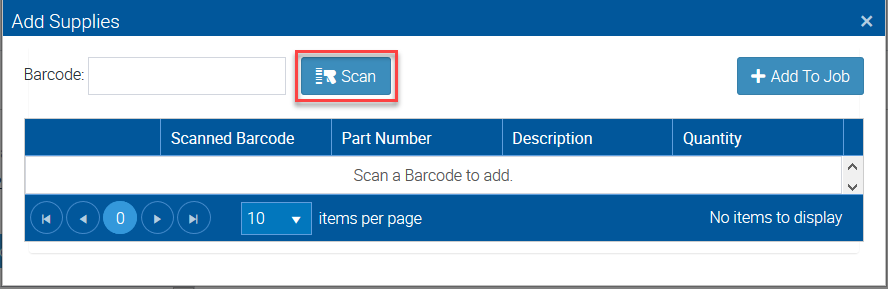
1. Access your Quick Sale Details screen and click on Add by Barcode.
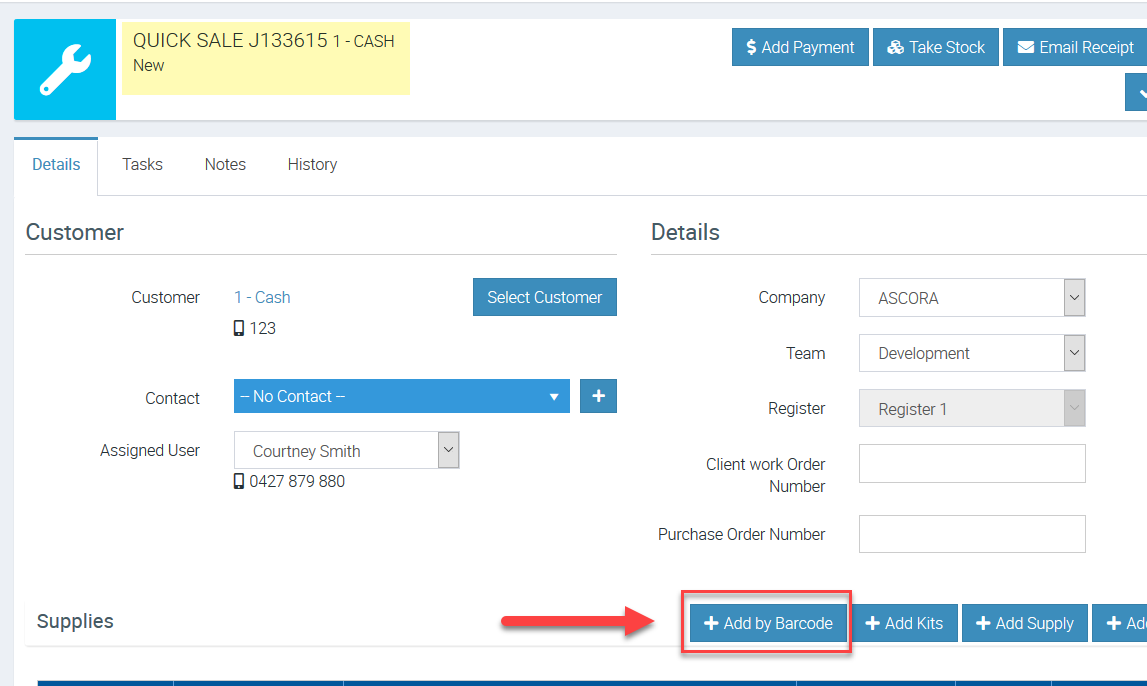
2. If you have a scanner connected, click Scan to add your supply items.
Alternatively, you can manually enter the barcode and then click + Add To Job.

Working on a Job
When working on a job, you can also add supplies or materials using barcode scanning functionality.
1. Open your job details and go to Supplies tab and click on + Scan Barcode to Add Supply.
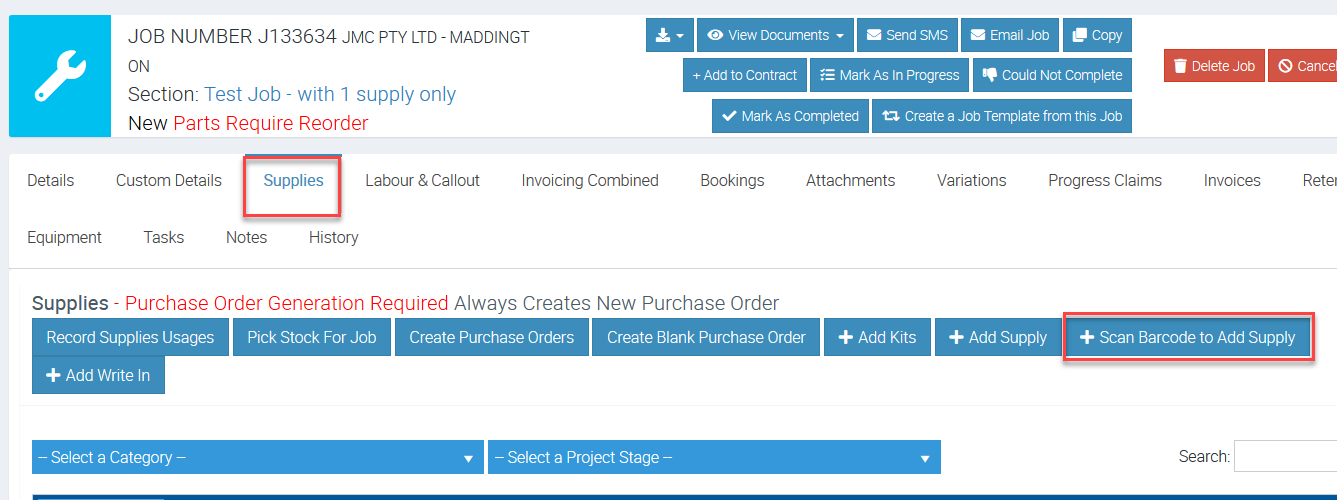
2. Click Scan if you have a scanner connected and add your supplies or materials to the job.
Scanning Barcode from the Android Mobile App
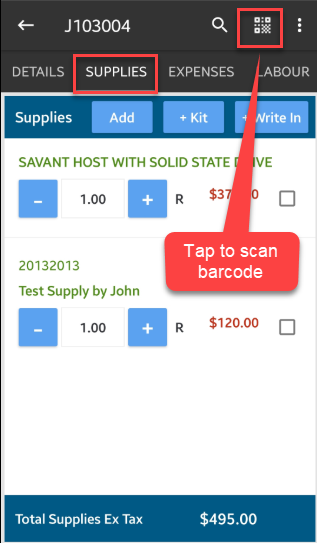
You can scan barcodes to add supplies or materials from the Mobile App.
With Android Mobile App, you can do it by opening a job, then tap Supplies tab and tap on the QR icon as indicated in the image below.
Adding Barcode from the Android Mobile App
You also have the option to add barcodes from the Mobile App and this is helpful if you have a lot of supply items to add to a certain job and you only have access to a Mobile App.
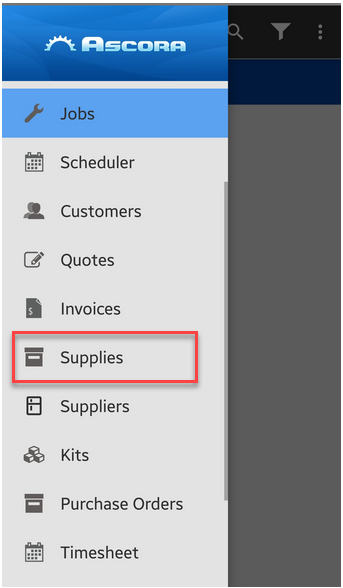
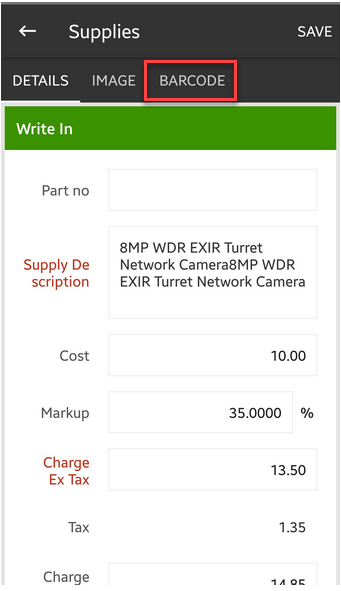
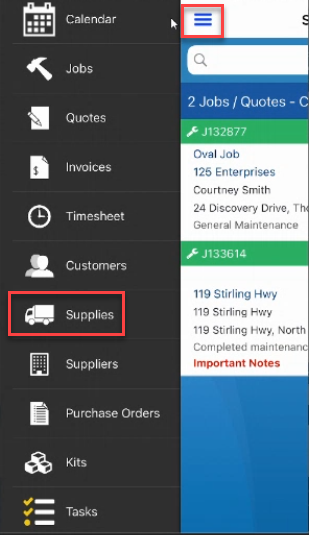
1. Go to Menu → Supplies and select your supply item with barcode you need to add to.
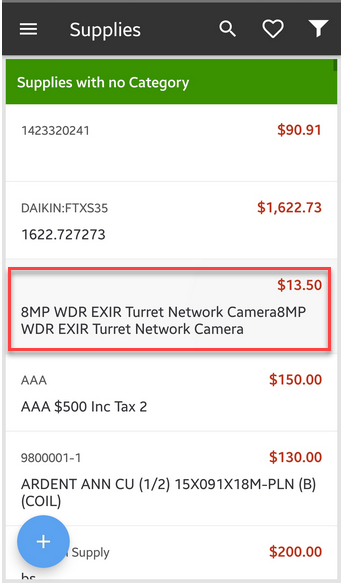
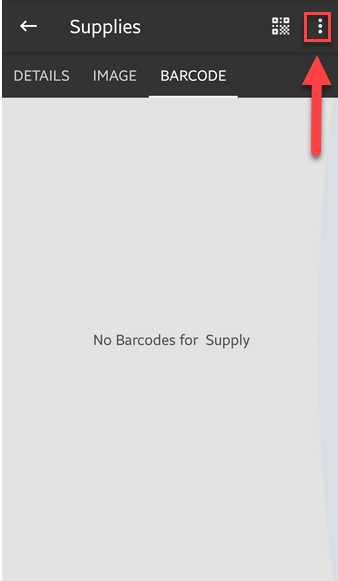
2. Tap Barcode and tap on the 3 dots located at the upper right side of the screen.
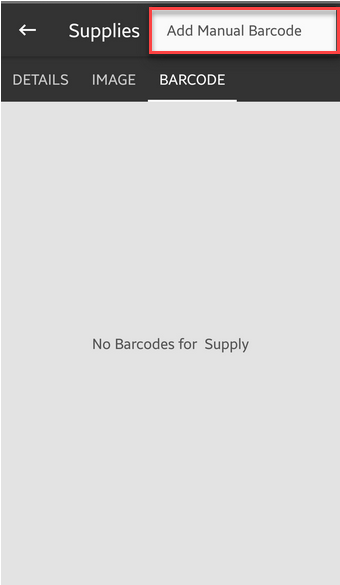
3. Tap Add Manual Barcode and enter the barcode details and tap Done.

Scanning Barcode from the iOS Mobile App
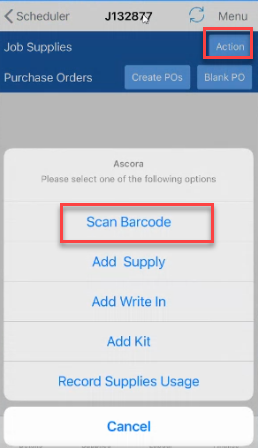
From your iOS Mobile App, access the job details screen and tap Supplies → Action → Scan Barcode.
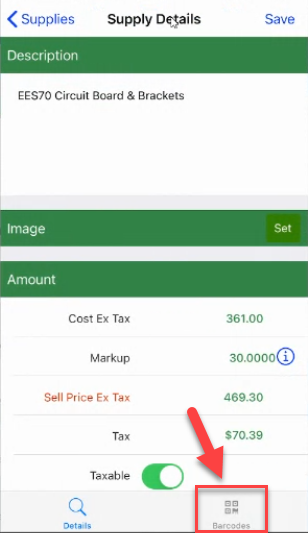
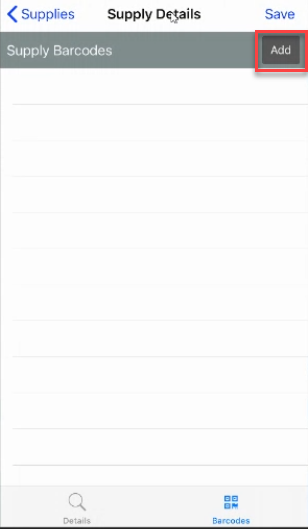
Adding Barcode from the iOS Mobile App
1. Tap Menu and select Supplies and then select the supply item with a barcode you need to add to.

2. Tap Barcode located at the bottom right part of the screen then tap Add.