Effective inventory control ensures accurate tracking of stock levels across warehouses, vans, and other storage locations, enabling seamless job execution and efficient supply management. With Ascora’s Inventory Tracking features, you can:
✔ Monitor stock movements – Track stock transfers, received items, and supplies used on jobs in real time.
✔ Prevent stock shortages & overages – Keep inventory levels accurate with stock takes and stock adjustments.
✔ Optimize job efficiency – Ensure that mobile teams have the right materials by linking stock locations to specific users.
✔ Simplify cost management – Maintain accurate unit costs and weighted average values for better financial oversight.
By following this guide, you’ll learn how to enable inventory tracking, create stock locations, assign inventory to users, conduct stock takes, and make necessary stock adjustments, ensuring your business operates with greater accuracy and control.
📽 Watch the video guide ⤵
Enabling Inventory Tracking
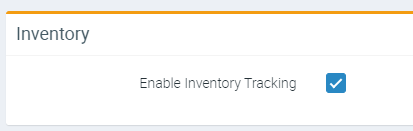
By default in Ascora Inventory tracking is not be turned on. To start tracking stock levels Inventory Tracking will need to be enabled.
Inventory Tracking can be enabled under Administration → Defaults.
Once Inventory Tracking is enabled you will want to:
1. Create Stock Locations for the places you will store and track inventory
2. Set the Default Stock Locations for the Users who will be working with inventory (both for the mobile team and in-office).
3. Perform a Stock Take for the Stock Locations to have the starting balances correct for the current Inventory.
4. Create Stock Adjustments for minor corrections to stock for a particular Supply.
Creating Stock Locations
New Inventory Locations can be created under Administration → Inventory.
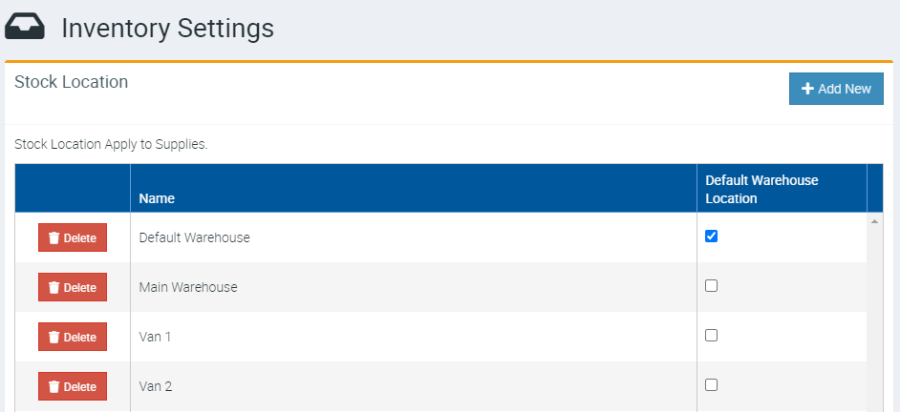
- Click + Add New
- Enter the Name of the new Inventory Location.
- Once all necessary Locations have been created, click Save.
Assigning Stock Locations to Users
Ascora allows you to associate a Stock Location with a User. When they are performing inventory actions, the selected location will then be defaulted to the specified one. For example, you will want to set the Stock Location to the Van driven by a particular tradesman.
1. Navigate to the Users under Administration → Users.
2. Select the related User for which we want to set the Stock Location.
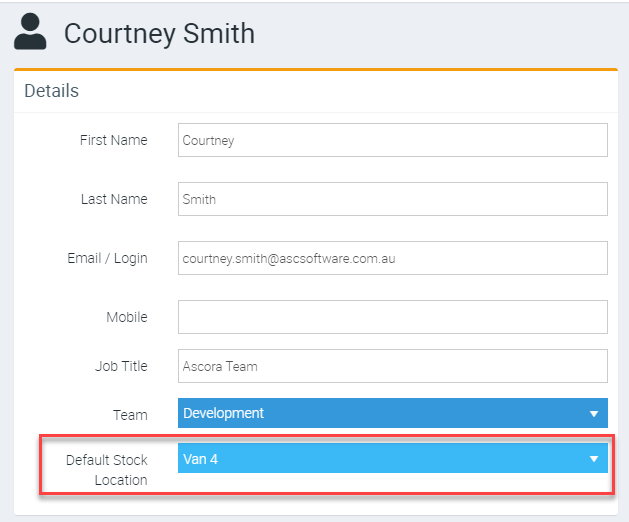
3. In the Details area select the Stock Location for the User.
4. Click Save.
Performing a Stock Take
Stock Takes are used to correct the quantity of Supplies at a particular Location. Each Stock Take is performed for a single Location. Once that Stock Take has been committed, stock adjustments are created for each of the Supplies to set the current Quantity to the counted Quantity.
📽 Watch the video guide ⤵
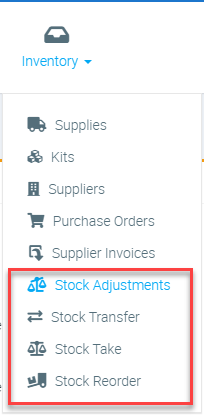
1. Navigate to the Stock Takes area under Inventory
2. Click + New.
3. Select the Stock Location and Click Commence Stock Take.

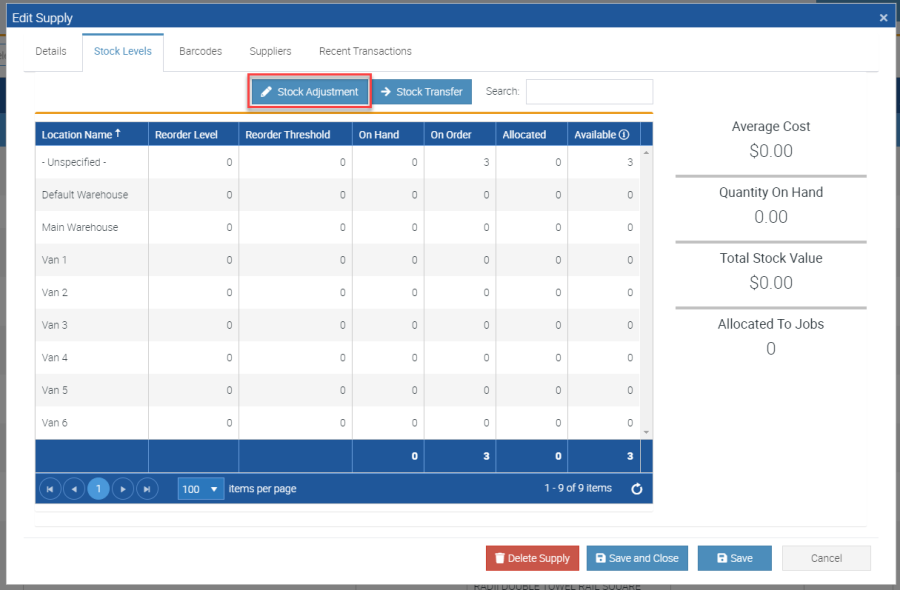
Creating Stock Adjustments
Stock Adjustments are corrections to the Stock on Hand at a particular Stock Location. They allow you to increase or decrease the quantity of stock at a particular Stock Location. To create a Stock Adjustment for an item:
1. Navigate to Inventory → Supplies.
2. Search and open the Supply Details.
3. Open the Stock Levels tab and click Stock Adjustment
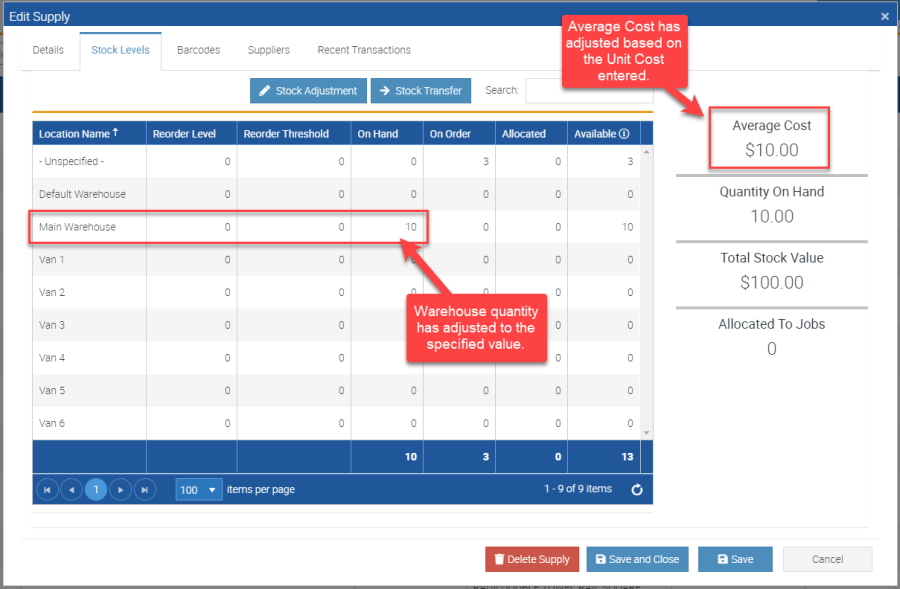
4. Enter the Quantity for the Supply at each of the Stock locations. This quantity is the quantity that should exist at the location (in other words it is not the extra amount but rather the final amount right now which can be higher or lower than what exists). If necessary you can also adjust the Unit Cost – this will affect the Weighted Average Value of the Stock if additional stock is added.

5. Click Update Stock Levels to save the changes.
You will note the Stock Levels have adjusted to the entered values.
Got a question?
Submit an Idea 💡 Go to Ideas Portal