The Client Roster offers a unique way to manage job scheduling by providing a comprehensive overview of bookings associated with specific clients and jobs. This view complements other scheduling options, such as the Job Scheduler or Job Calendar, by offering a client-focused perspective. It’s especially useful for scenarios where client-specific bookings or detailed roster management is required.
The Client Roster allows you to:
- View all users assigned to specific jobs for a client.
- Easily download or email schedules directly from the interface.
- Confirm multiple bookings with one click to generate timesheets.
- Manage and adjust bookings with flexibility to suit your operational needs.
How to Use the Client Roster
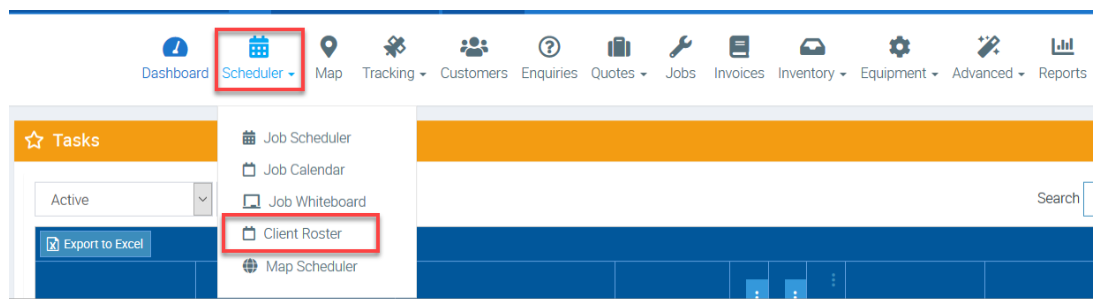
1. Go to Scheduler → Client Roster.
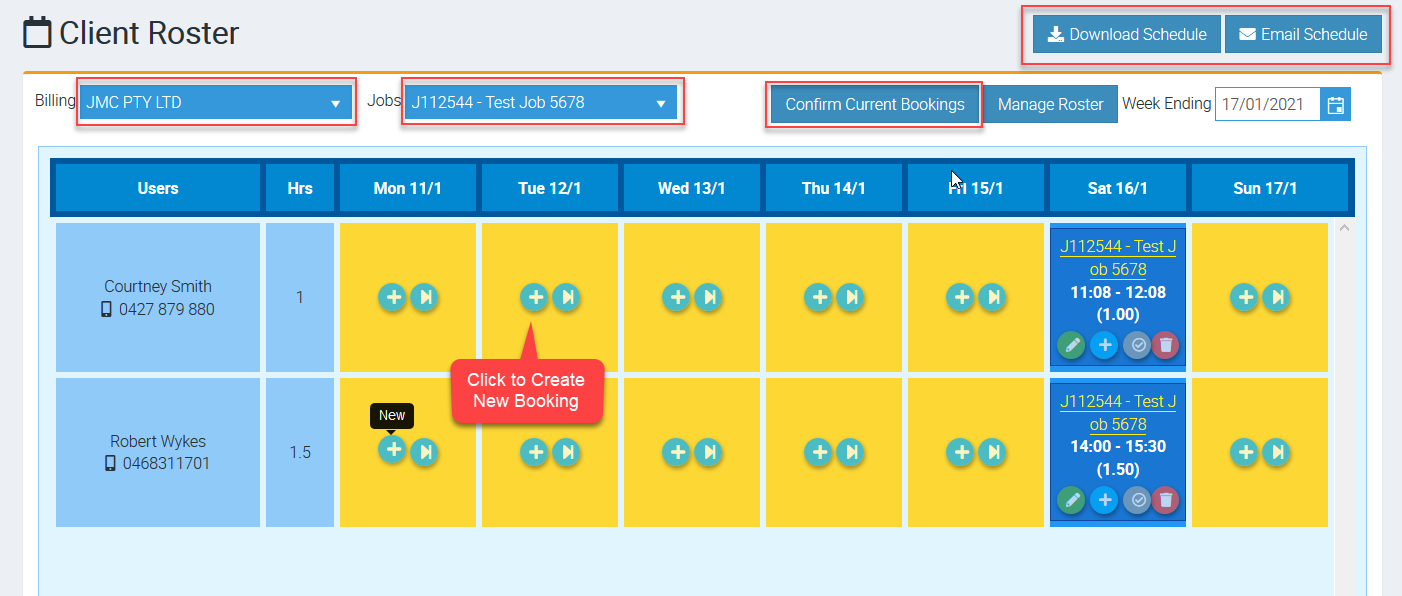
2. The Client Roster screen appears and you can filter to Billing Customer and Job which displays the assigned users booked for that job.
You also have a few things that you can do from this screen such as:
- Download Schedule - to download schedules similar to downloading schedules from Scheduler → Job Scheduler.
- Email Schedule to email schedules to specific users and this is also similar to the button you see in Scheduler → Job Scheduler → Email Schedule.
- Confirm Current Bookings - to confirm all visible unconfirmed bookings which will generate a timesheet for each unconfirmed booking displayed on the roster.
Creating or Modifying Bookings
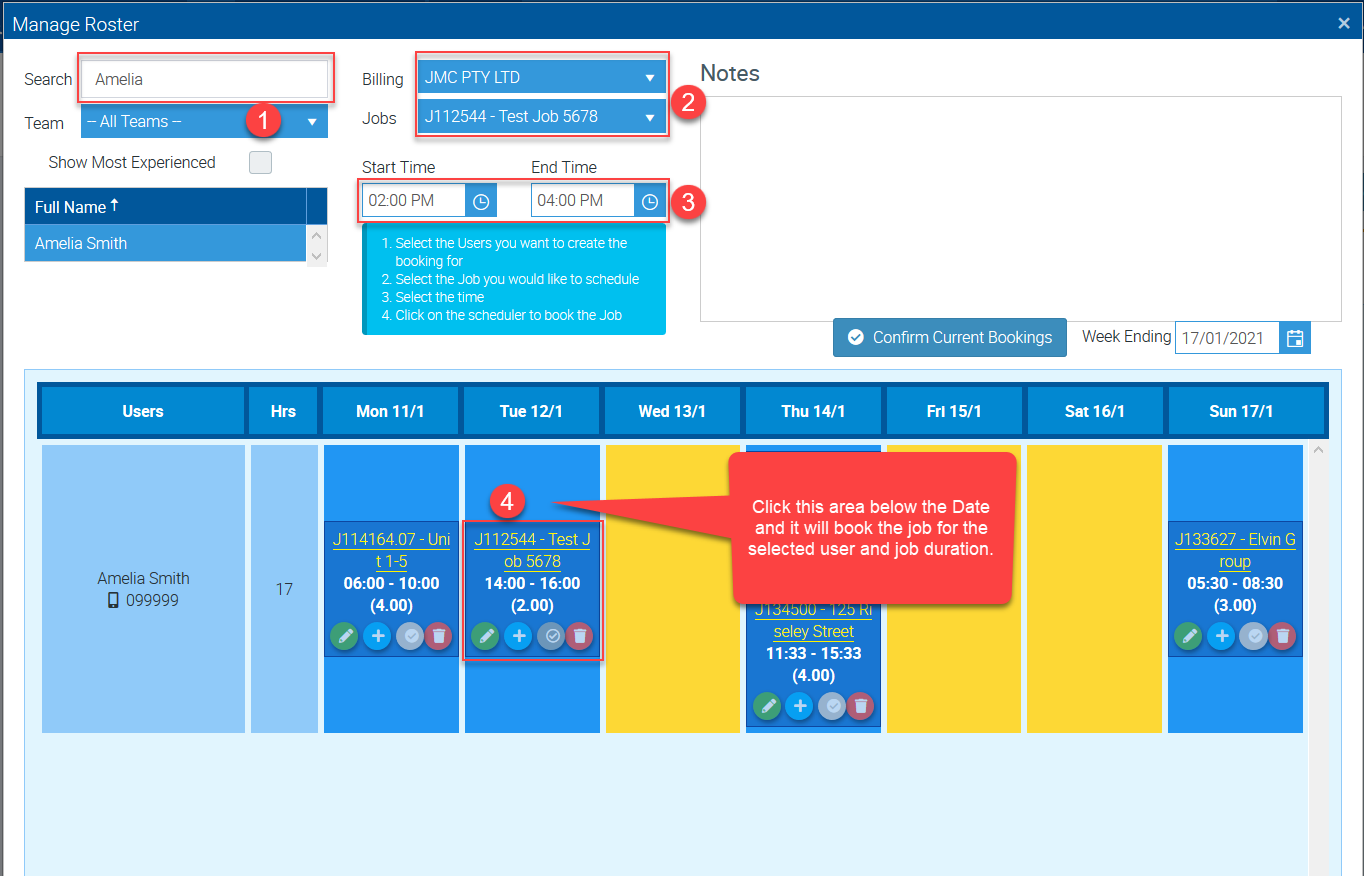
To book a job to a new user or more users, click Manage Roster.

Search the user or users and then select the billing customer and corresponding job as well as enter the Start Time and End Time.
You can follow this sequence:
- Select the User or Users you want to create the booking for
- Select the Billing Customer and Job you would like to schedule
- Select the Start Time and End Time
- Click on the scheduler (the column where you see dates and alternating columns of blue and yellow) and booking will be created.
In this example below, we selected Job J112544 and created a booking for Amelia on Tuesday 12 January. If you want to book it on a different day, just repeat the steps but click the area below the corresponding date.